DIY Memo Board

One thing I’ve vowed to do in the new year is to be more organized. I am notorious for having papers scattered in no particular order or just throwing things out which may later be important. I know, I know, but I am working on this area of my life. So, I decided that making a memo board to hold my important monthly correspondence is a good idea. Instead of purchasing one, I decided it would be just as easy and more personalized to make my own and it was very cost effective too! And this project should take less than an hour to complete!
The beauty of the memo board is that you can make several, all different colors and/or patterns depending on what you like. For my memo board I decided to use a chevron print. Chevron is on trend at the moment and I personally think it is timeless and will never go out of style. And since I like to keep things simple, this is a no-sew project! All you need is a glue gun and some stick pins to put it all together. I purchased all of the materials I needed at Walmart.
Essentials
18 inch foam Block
Fabric of your choice - cut large enough to fit around board (at least 14 inch x 19 inch)
Ribbon
Stick pins
Glue gun
How to:
1.Iron the fabric to remove all wrinkles.
2.Place foam block on fabric, and wrap like a gift ensuring the board is covered completely 3.to the back.


4.Use glue gun on cool setting to keep fabric in place.


5.Place ribbon diagonally across board, aprox. 2 1/4 inches apart, pin to board in back.
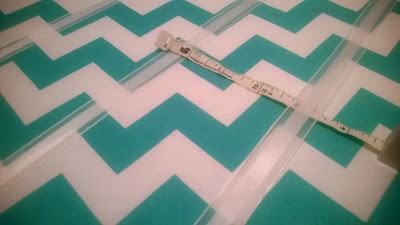

6.Repeat process in other direction, crossing the ribbon (I eye-balled it).
7. At each intersection place a stick pin
And you are done!
I am so pleased with the results and may even take it upon myself to make a few for gifts on special occasions or just because!


Comments